
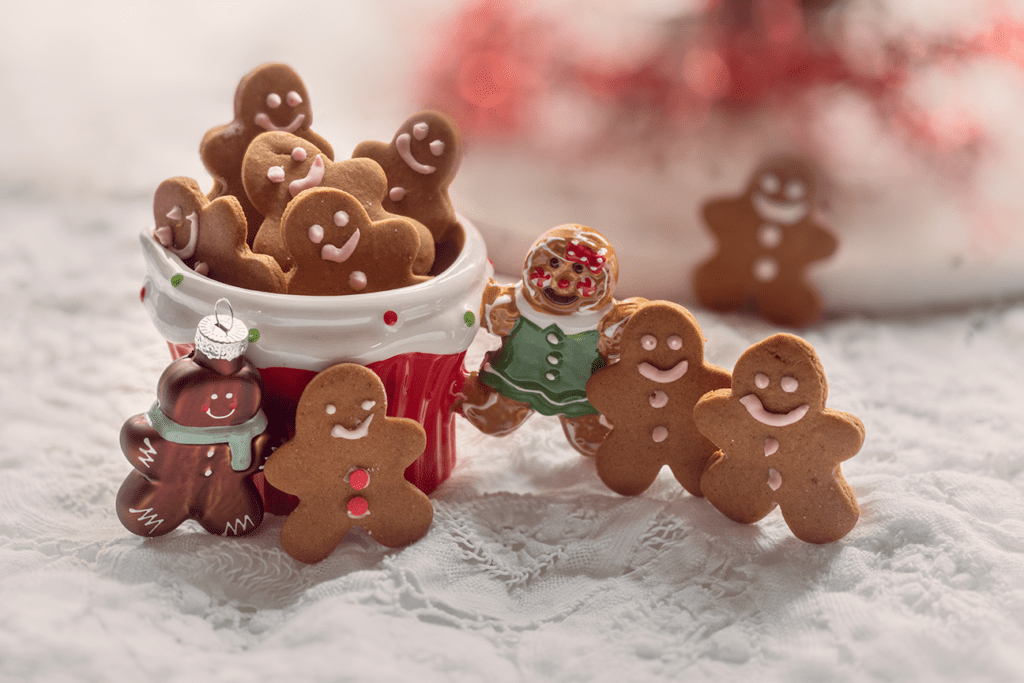
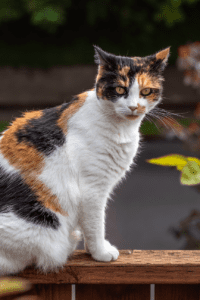
I’ll bet you were thinking of orange cats! I have a couple of kitty-shaped cookie cutters, and since I make gingerbread every year around this time, I couldn’t help but check them out. My only problem with them is that I don’t have a small enough piping tip for things like little cat faces, so I tried using a paintbrush. Not perfect, but I fell in love with them anyway!

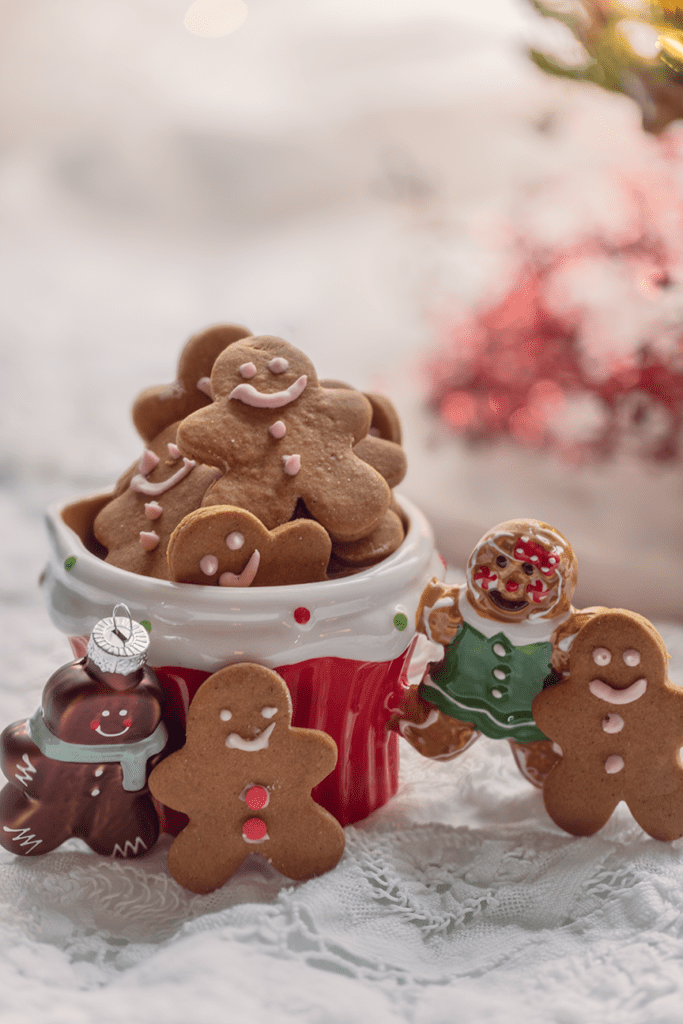
I made a few other shapes, too, but the cats are my favorite. I like making gingerbread because it’s easy to prepare—and it can be made ahead of time and refrigerated for a few days or frozen for a few weeks. This is especially helpful at the busiest time of the year.


Once it’s made, it’s all about your convenience. I now make several different doughs in the weeks leading up to Christmas and freeze them so they can be baked closer to the ’big day’. This means your guests and giftees have fresher cookies. If you want fewer cookies, the recipe is easily halved.
I use meringue powder for the royal icing. It’s a bit safer than using egg whites for frosting your cookies. The recipe I’ve included makes a large batch of icing, so you can divide it and add gel coloring to each portion. The recipe is also easily divisible, should you want to make a smaller portion.
After all, it’s not really Christmas without gingerbread!
Basic Gingerbread
Ingredients
- 1 cup (2 sticks) unsalted butter
- 1 cup brown sugar, packed
- ⅔ cup molasses
- 2 large eggs
- ⅓ cup cornstarch
- 2-½ tsp ground cinnamon
- 2 tsp ground ginger
- ¼ tsp allspice
- ¾ tsp salt
- 4-5 cups all-purpose flour
- Royal icing (recipe follows)
- Sprinkles to decorate
Preheat oven to 375º F.
Prepare a couple of baking sheets by lining them with parchment paper.
In a medium bowl, whisk together 4 cups of flour, the cornstarch, cinnamon, ginger, allspice, and salt.
Cream together the butter and brown sugar until smooth, scraping bowl sides as you go.
Add the molasses and mix until combined, then beat in the eggs one at a time, scraping the bowl sides to combine thoroughly.
Gradually add the flour mixture, scooping in a cupful at a time, combining with the wet ingredients. Continue adding flour until the dough pulls away from the bowl and is no longer sticky. The dough should be firm and elastic. Add all or part of the fifth cup of flour if necessary. By this time, the dough should be smooth and pliable, if it wasn’t already.
This is a pretty large dough ball, so to handle it more easily, I divided it into a few pieces, rolled them out flat, and then wrapped them in plastic film until I was ready to cut them. Another option, as I mentioned, is to make a half-batch at a time. This makes a lot of cookies, so it depends on how many you need.
Lightly sprinkle flour on the surface you are rolling on. I highly recommend doing this on a sheet of parchment paper for easier cleanup. Roll the dough out to about ¼-inch and cut with cookie cutters of choice. Carefully transfer the cookies to the prepared sheet pans. Bake for about 12 minutes, or until very lightly golden brown.
Cool completely on racks, then decorate with royal icing (recipe follows) and sprinkles if desired. As I mentioned above, this makes a bunch!
Royal Icing
Ingredients
- 2 Tbsp meringue powder
- 6 Tbsp water
- 3 cups powdered sugar
- Gel paste icing colors (optional)
- Sprinkles, jimmies, dragees, etc., for additional decorating (optional)
With a wire whisk, whip the meringue powder and water together in a large mixing bowl until foamy.
Add in the powdered sugar and beat until very thick, smooth, and stiff. Add the gel color, if desired, and continue beating until the color is even.
Fill a pastry bag with the desired color and have at it with whatever tips you have. Decorate with additional decorations as desired. The icing will act as a glue—it dries hard, which is good if your cookies are traveling.


